| Meteorite Sweeper | ||
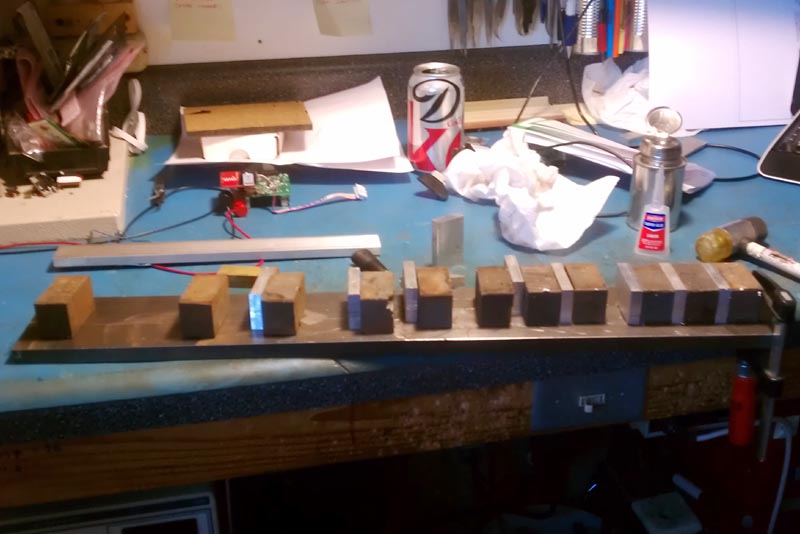 Starting assembly |
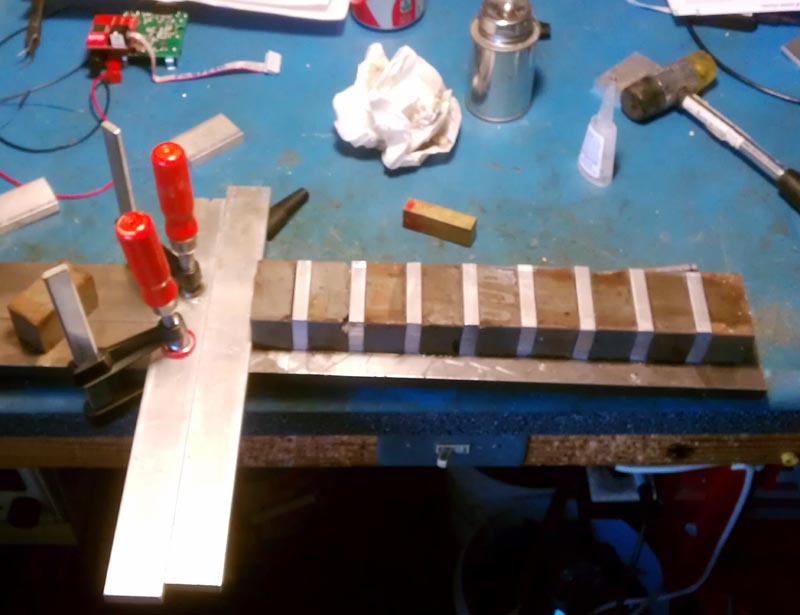 Harder to assemble |
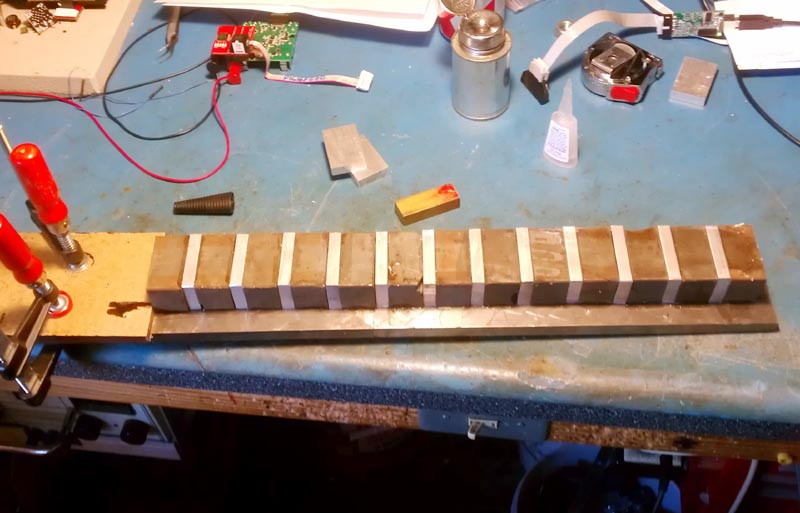 Even harder! |
 Near the end |
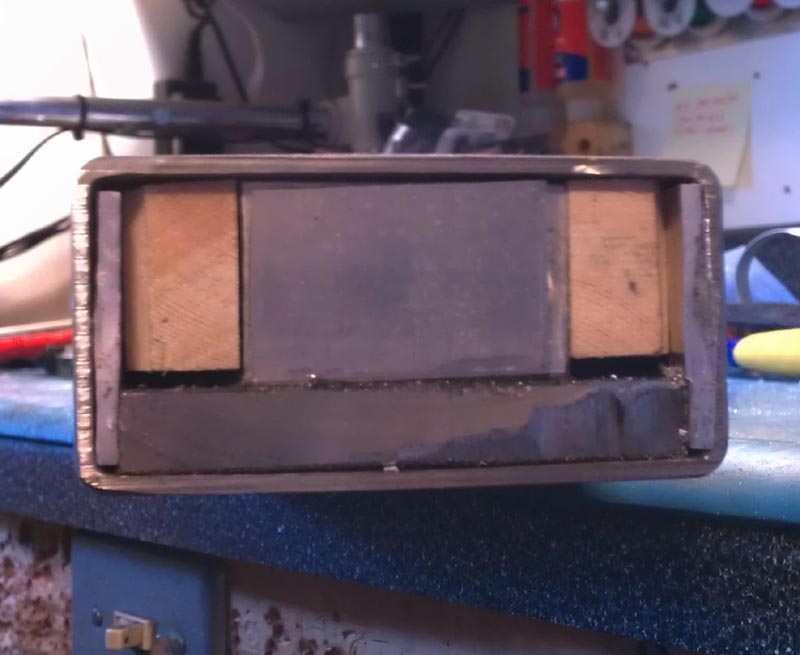
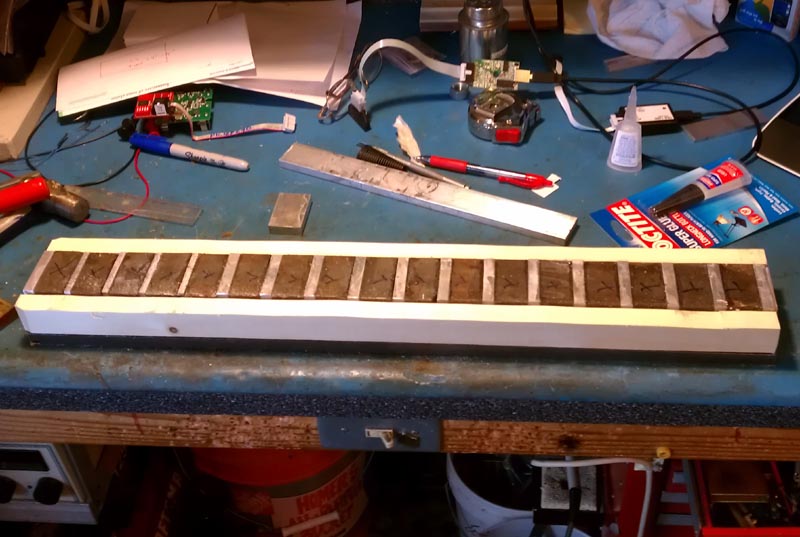 Full array with wood fillers |
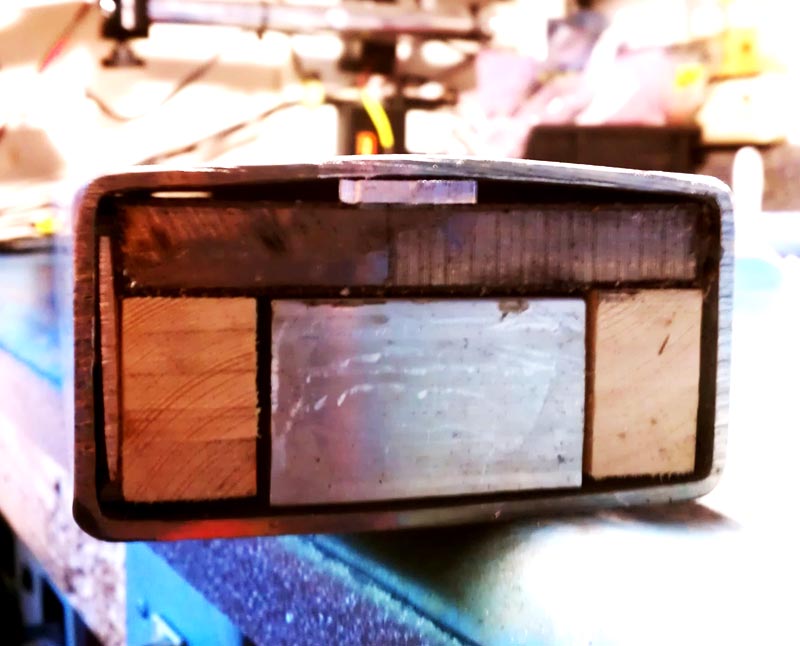
 Wood and Alum fillers |
 Vertical shim |
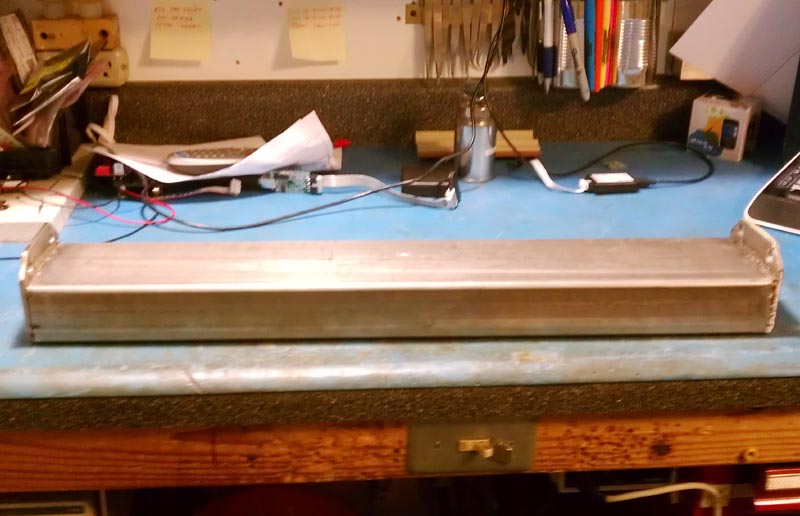 End caps spot welded |
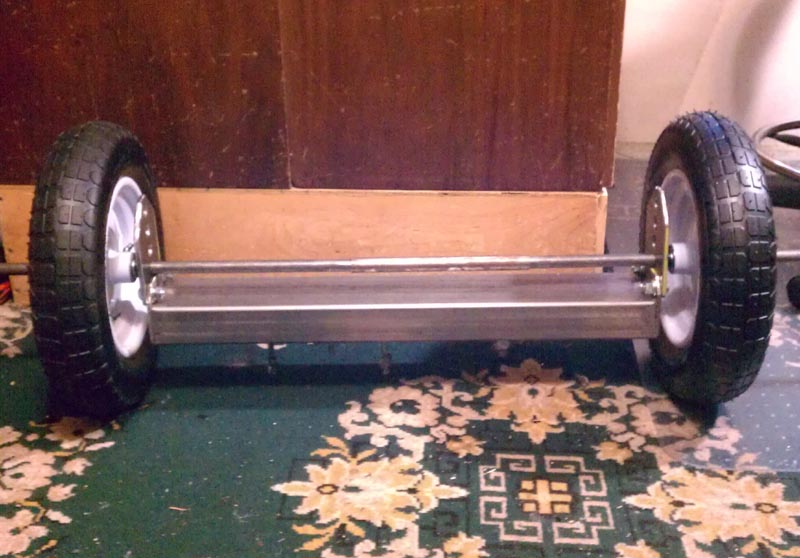 Wheel attach |
 Pick up movie |
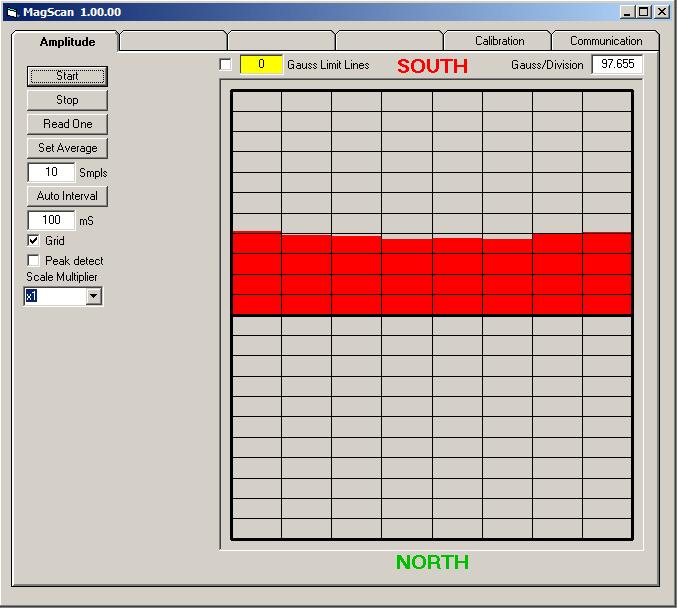
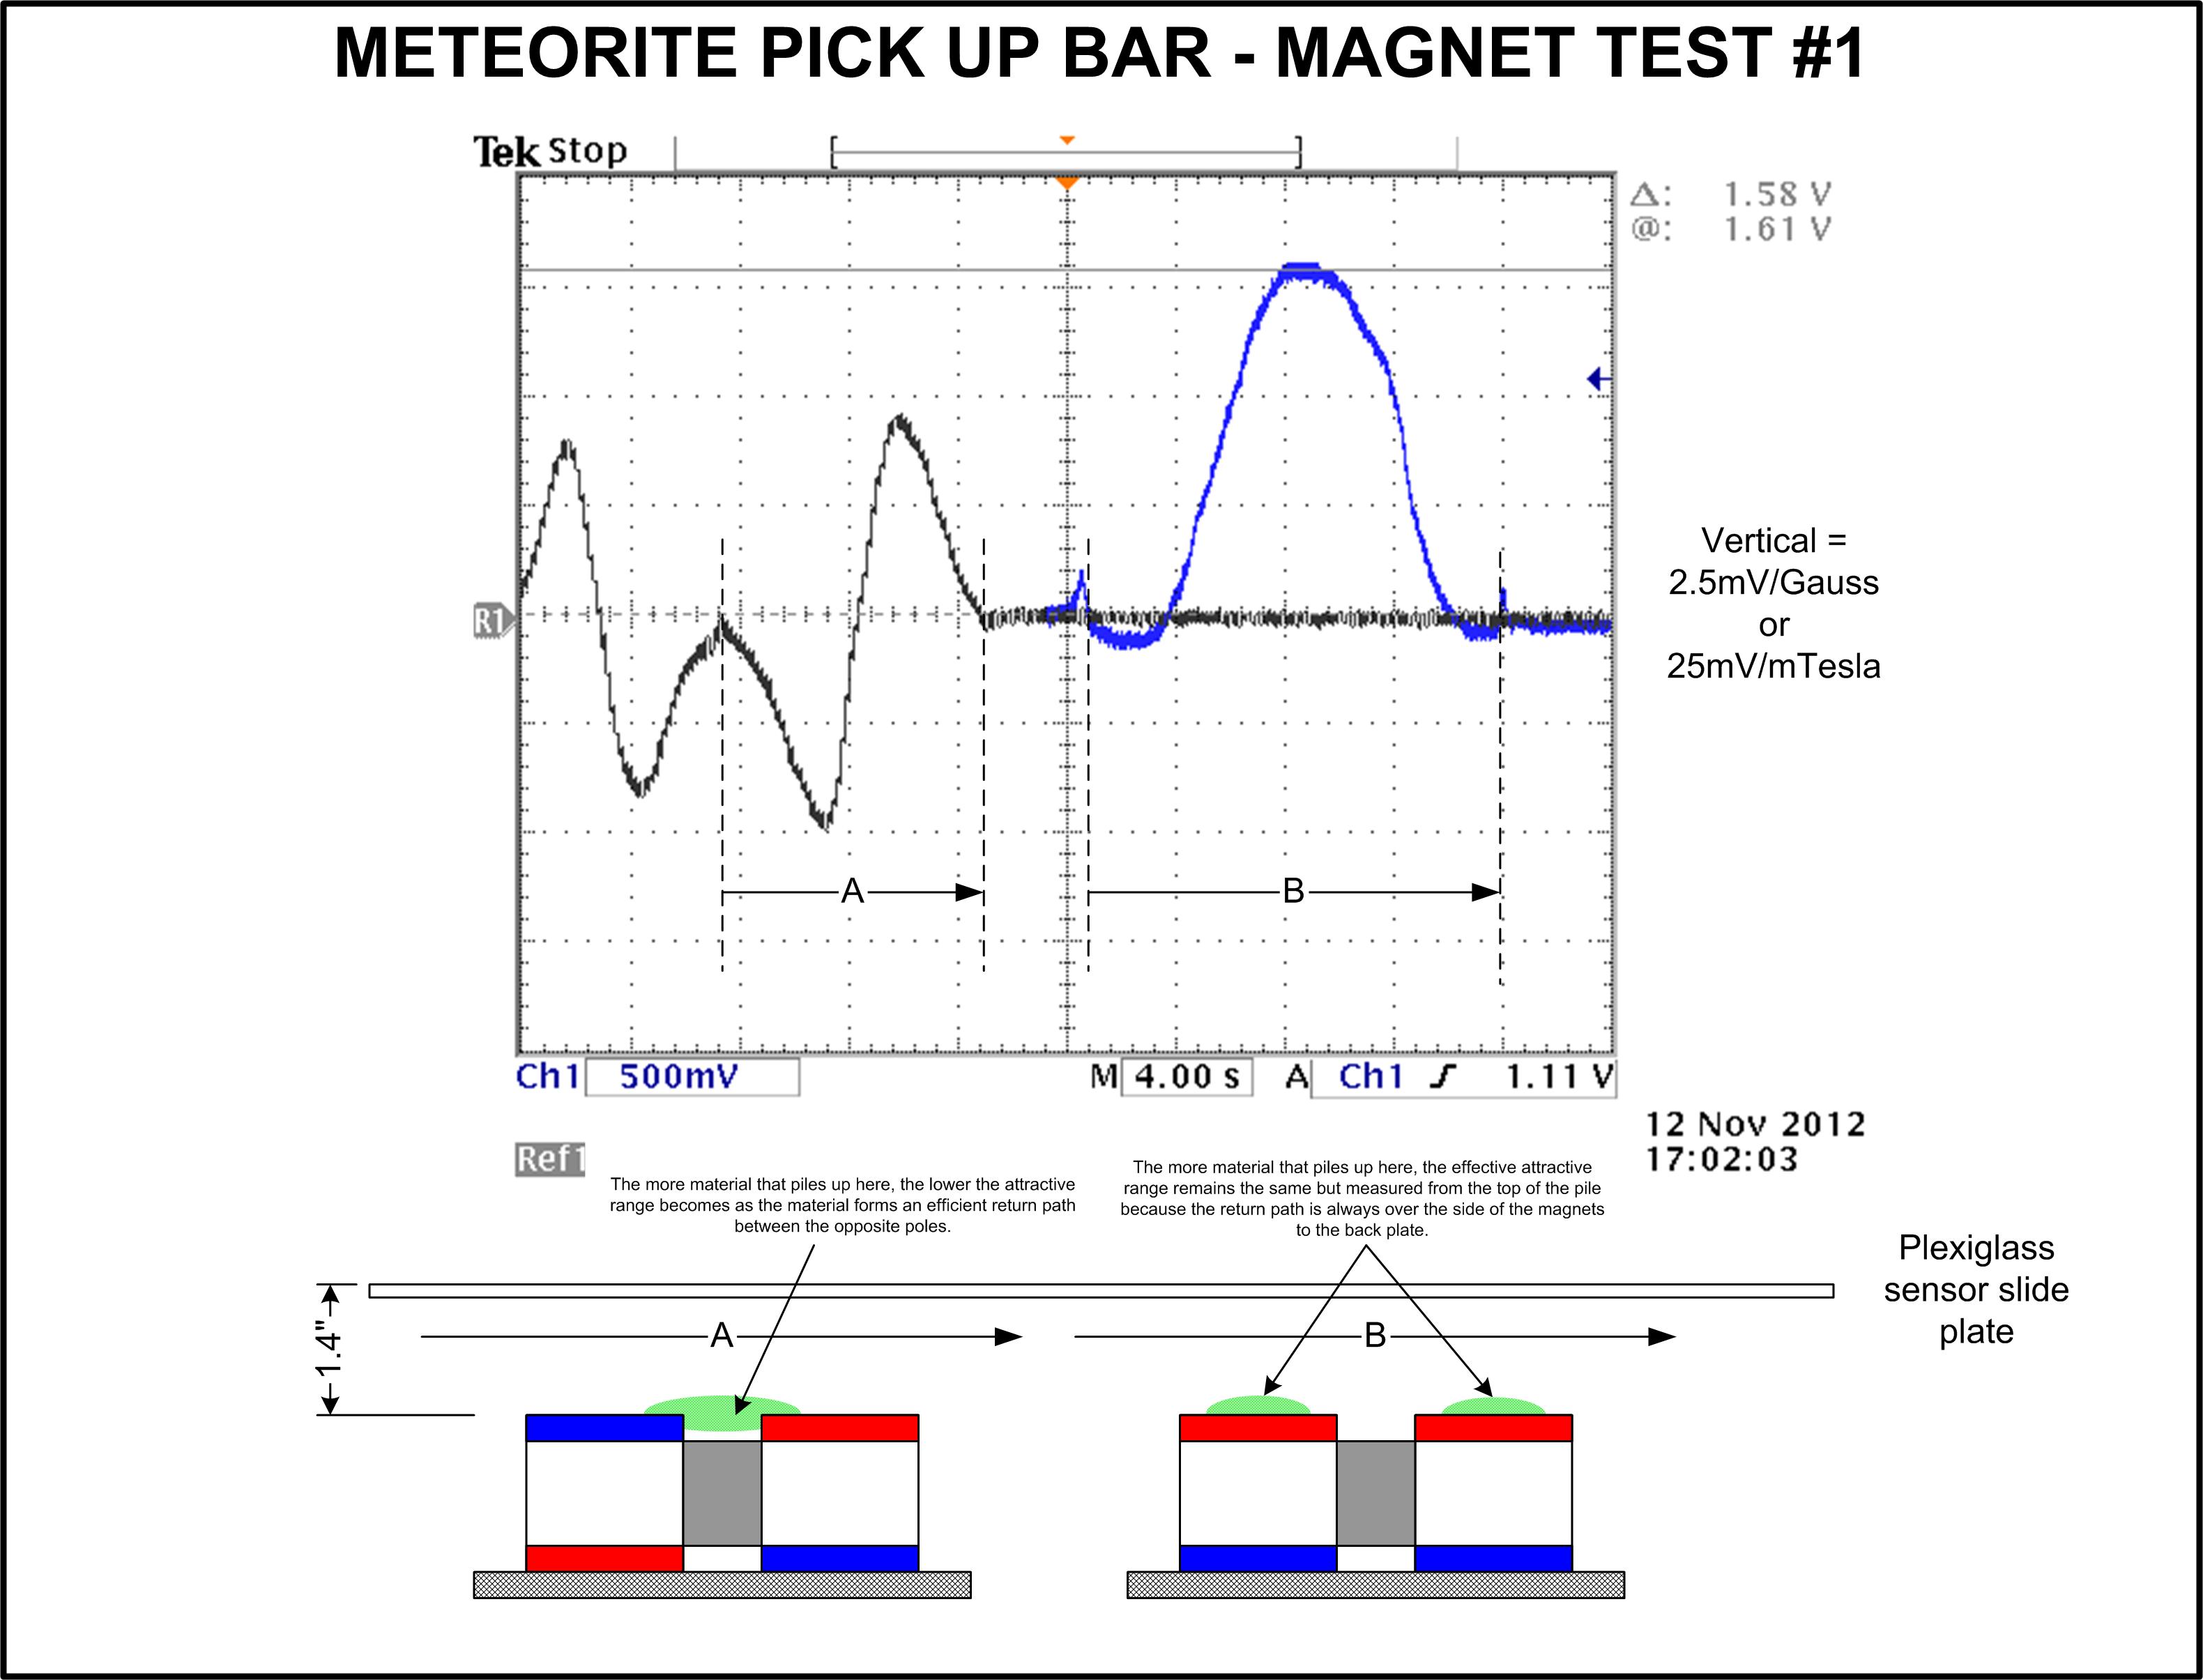 N-S vs N-N |
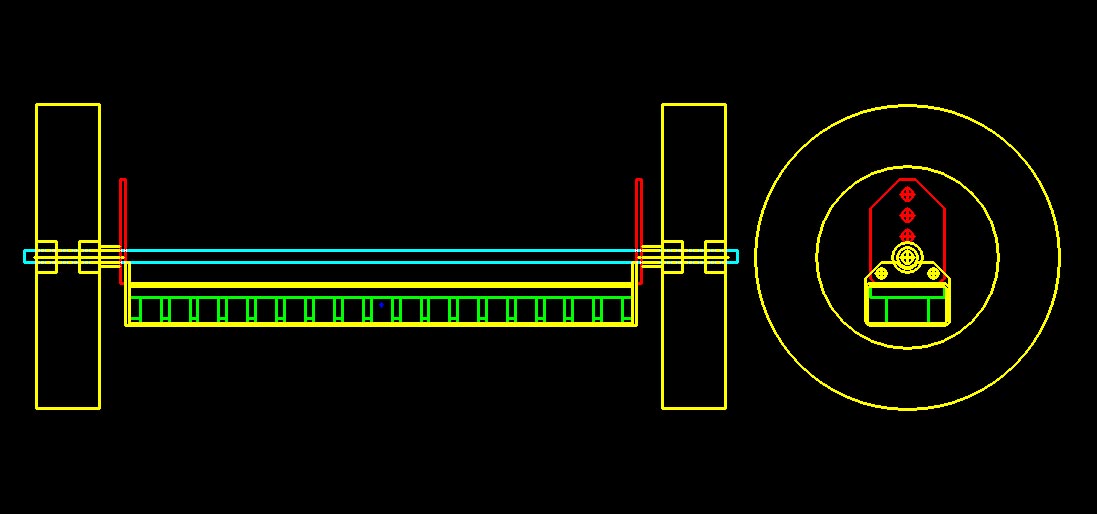 Design |
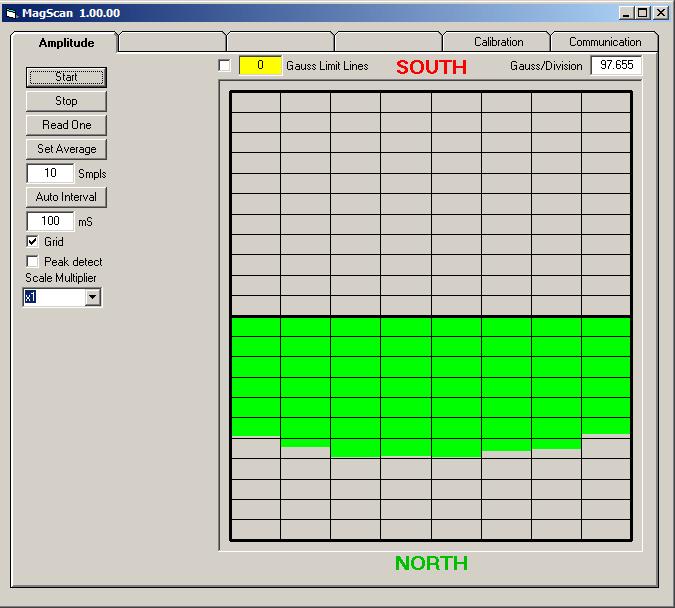 Bottom (Sweeper side) at 1.5" from surface centered on tube. |
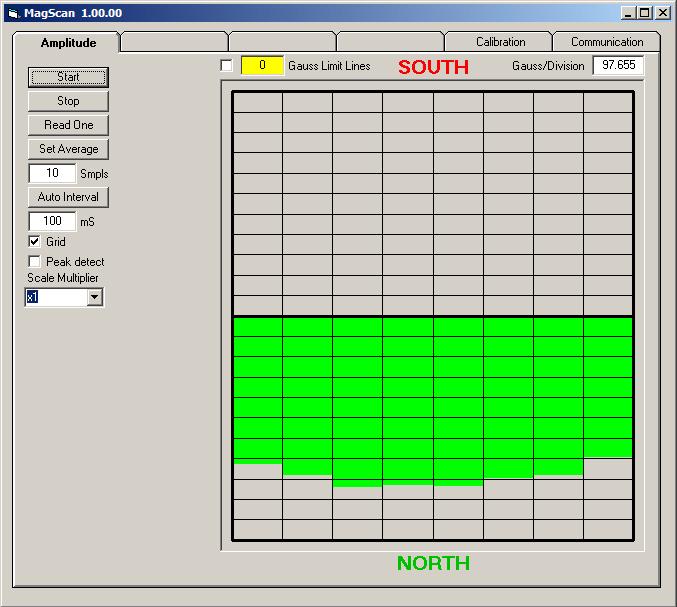 **Bottom at the end with 1/4" spacers, 1.5" from surface. |
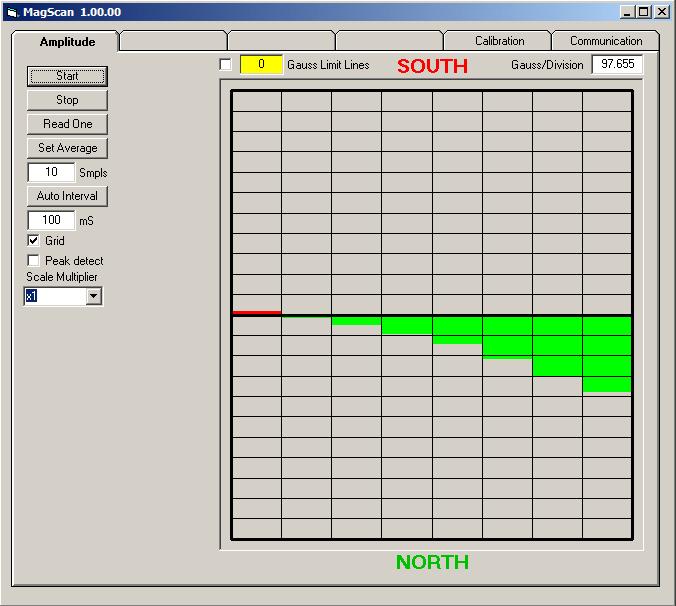 Bottom at 1.5" from surface, sensor 1(left) at tube edge. |
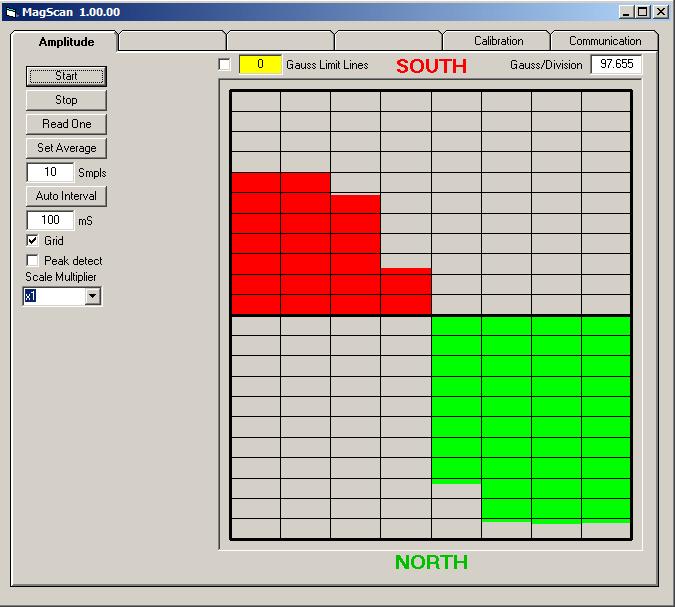 Bottom at 0" from surface, sensor 4 at tube edge. |
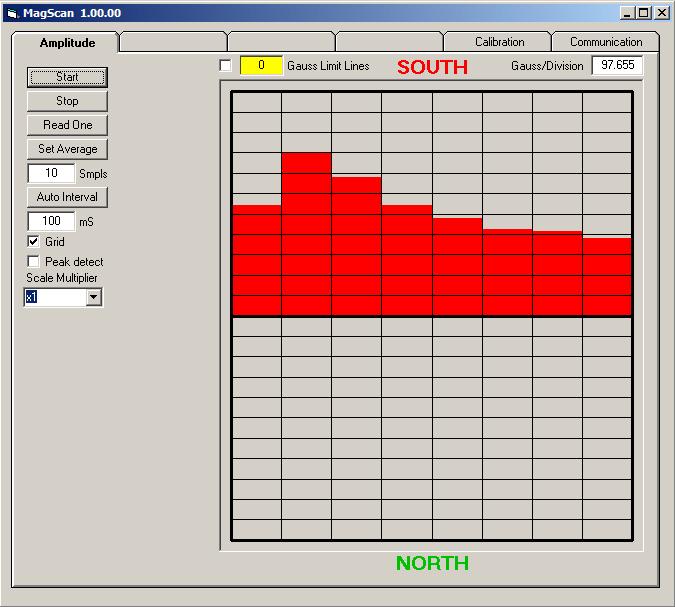 Top (Return side) at 0" from surface, sensor 1 at tube edge. |
 Top at 0" from surface centered on tube. |
|
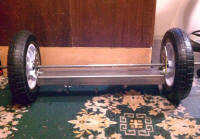
Rather than search for meteorites with a metal detector, how about just picking up every thing magnetic off the ground? This sweeper is designed to do just that. At 2" from the ground it will pick up material as small as iron filings and at 4" can pick up 8 pound steel blocks. The pull-in starts about 3" in front of the sweeper. With the attached handle, I simply pull the sweeper behind me like a wagon as I walk around the desert. The first 2 hour test run yielded several good suspects, a coffee cup full of iron filings, some assorted bits of man-made steel and no noticeable body strain. The only change I want to make is to fabricate a more rigid handle since the quickie handle made from aluminum strip allowed way to much fish-tailing. This array uses 17 1.25"* x 1" x 2" rare earth magnets assembled onto a 0.5" thick x 3.5" wide steel plate that concentrates the return path for the field. A return plate wider than about 1.5 times the width of the magnets (2" x 1.5 = 3") gives marginal improvement so the nearest size available 304SS tube of 4" x 2" x 11ga thick was selected to house the assembly. The return plate size was selected to fill as much of the remaining tube space as possible. A thicker return plate would have improved the performance, but not sufficiently to justify the weight or assembly size increase: The return side field is about 1/8th the pickup side field at any given distance with the majority of the field routed through the plate. The magnets were assembled, one at a time and held in place with (lots of) super glue. Between the magnets are 3/8" thick aluminum separators** sized such that the entire assembly would be two feet wide. At less than about 3/8" thick the force needed to get the magnets together was prohibitively high: The more magnets added to the plate, the less new magnets want to be there! The first few magnets slid into place by hand, but about half way through I had to use a plate clamped to the return plate to hammer them into place. At the end, I also had to add a top bar to keep the magnets from jumping off the return plate onto the top of the array (Which then required 5 minutes of wrestling to pull them off). By the time all the magnets were in place, the return plate had about 0.25" of bend from the repellant force of the magnets. The vertical shims were inserted to push the ends of the array towards the surface, against this bend. Once inside the tube, even if all the glue joints fail there should be not reduction in pick-up strength as the space fillers will keep all of the magnets in the same relative positions. *Polarization
axis in this dimension |
||